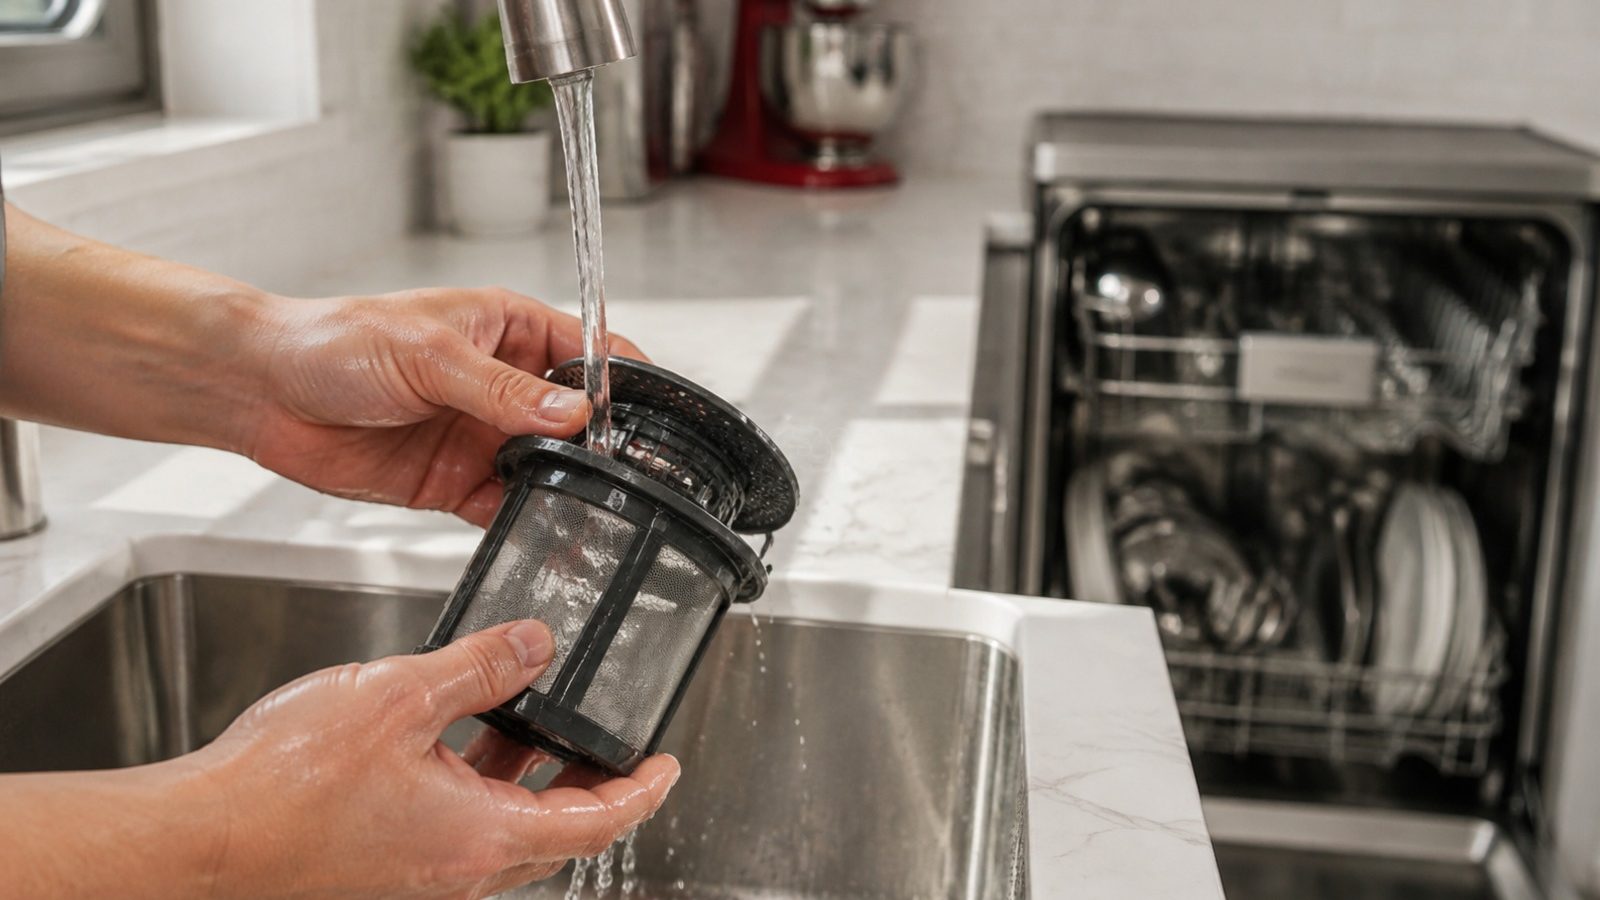

A clean filter supports good drainage and cleaning. Here is a safe routine.
Cleaning a dishwasher filter can be frustrating, especially when it interrupts a normal household routine. A symptom alone does not identify a failed part, so start with observations that are safe, repeatable, and useful if you later arrange an independent repair visit.
This guide separates routine care from work that requires testing or disassembly. Do not bypass a lock, safety switch, or error message to keep an appliance running. Taking a few notes now can make the eventual diagnosis faster and more accurate.
Wait until the dishwasher is off and cool, then use the manual to locate, twist, and lift the filter only as instructed. Make the check with the appliance in its normal position and without forcing panels, fittings, or controls. If the result changes after a simple adjustment, run one normal cycle or operation before drawing a conclusion.
Food debris in the mesh or filter housing can reduce cleaning and drainage, particularly in homes that do not pre-rinse dishes. Look for a pattern: whether the issue happens every time, only with a particular load or setting, or after the appliance has been running for a while. That distinction is more valuable than repeatedly restarting the appliance.
| Task | How often | Method |
|---|---|---|
| Rinse filter | Monthly | Warm water |
| Brush debris | As needed | Soft brush |
| Check housing | Each cleaning | Wipe gently |
Consult the use-and-care manual for model-specific controls, filter access, and maintenance intervals. Clean only parts described as user-serviceable, use the recommended cleaning products, and refit every removable part exactly as it was designed to sit.
Before trying another cycle, clear obstructions, reduce an unusually heavy load, and make sure airflow, water supply, or door clearance is not being restricted. Avoid repeated resets: they can hide an intermittent fault and may leave water, heat, or pressure where it should not be.
Safe to try
Leave to a technician
If the basic checks do not change the symptom, stop at the user-serviceable boundary. Internal wiring, heating circuits, pumps, motors, refrigerant lines, gas connections, and control boards need the correct test equipment and a technician who can verify the repair safely.
Arrange service promptly when performance is getting worse, the appliance trips a breaker, leaks near electrical parts, smells hot or burnt, makes a new grinding noise, or cannot complete a normal cycle. Do not continue operating an appliance that gives a safety warning.
Share the model number, the exact symptom, when it began, what settings were selected, and the results of the safe checks above. A photo of a code or a short description of the sound can also help, but never remove a cover to obtain it.
Careful observation is not a substitute for repair, but it is the best first step. Address the simple conditions, preserve any useful error information, and leave electrical, gas, sealed-system, and internal mechanical work to a qualified independent appliance technician.
This article covers How To Clean Your with practical checks you can run before booking a technician.
Need help now? Visit our services page or contact us.
Official manuals and support notes are available on KitchenAid owner support.
Remember: How To Clean Your is easier to resolve when you capture the model number and when How To Clean Your first appeared.
Write down the full model number before ordering parts. Board and sensor revisions can change which part number is correct.
A single power reset can clear a temporary fault, but repeated returns of the same code usually mean a physical cause remains.
Keep vents and filters clear between visits. Restricted airflow often mimics electrical or sensor failures.
If water, burning smells, or sparking are present, stop using the appliance and arrange a professional inspection.
Wait until the dishwasher is off and cool, then use the manual to locate, twist, and lift the filter only as instructed.
Only if there is no burning smell, smoke, sparking, gas odor, water near electricity, or other safety warning. Otherwise stop and arrange service.
Book a diagnosis when the safe checks above do not resolve cleaning a dishwasher filter, or when the next step would require opening the appliance or testing internal parts.
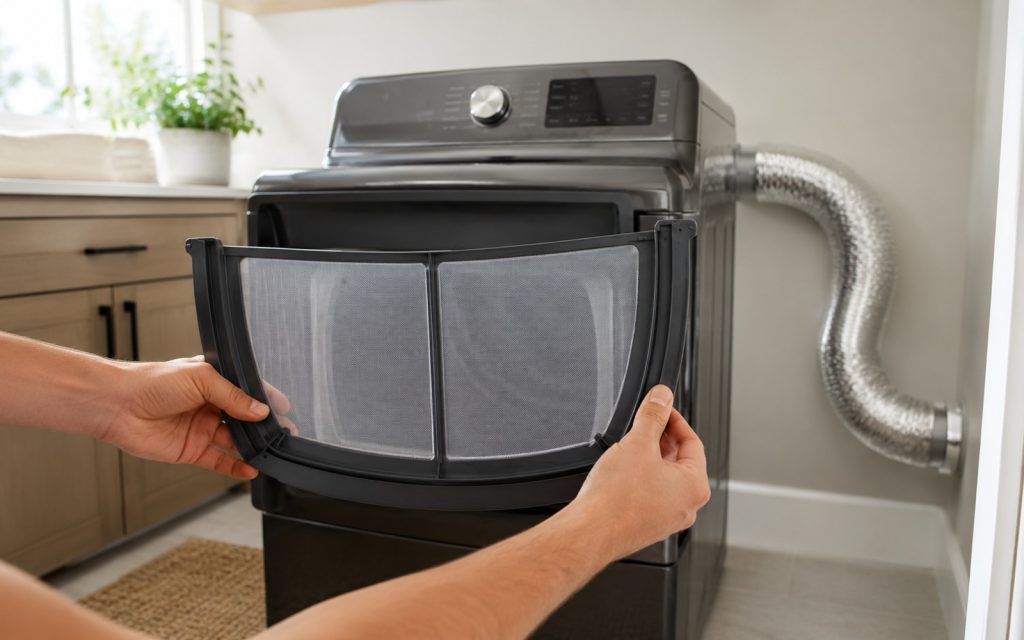
Clean venting improves drying performance and is an important home-safety habit.
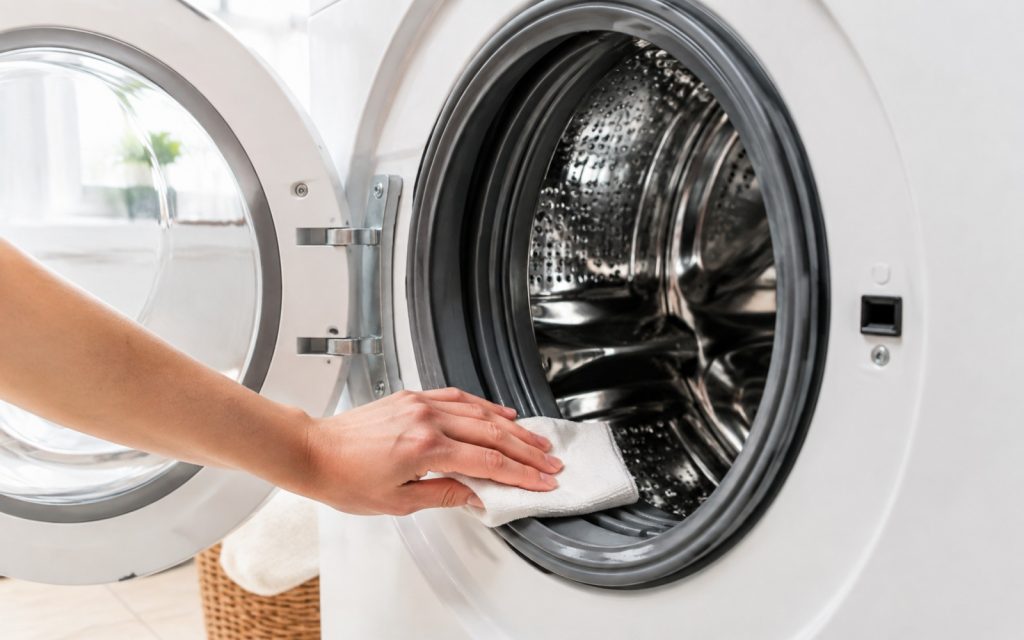
Simple gasket, drawer, and drum care helps prevent musty odors in front-load washers.
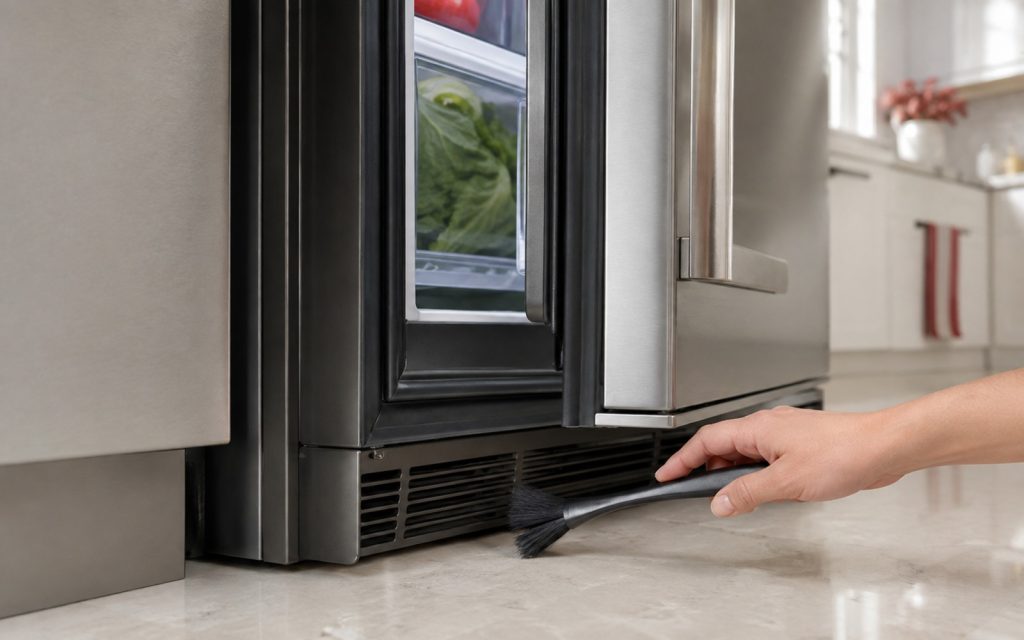
Clear airflow and clean door seals help a refrigerator run efficiently.
Share a few details and we’ll confirm an appointment. Prefer to talk? Call us and we’ll help right away.
Fields marked with * are required.