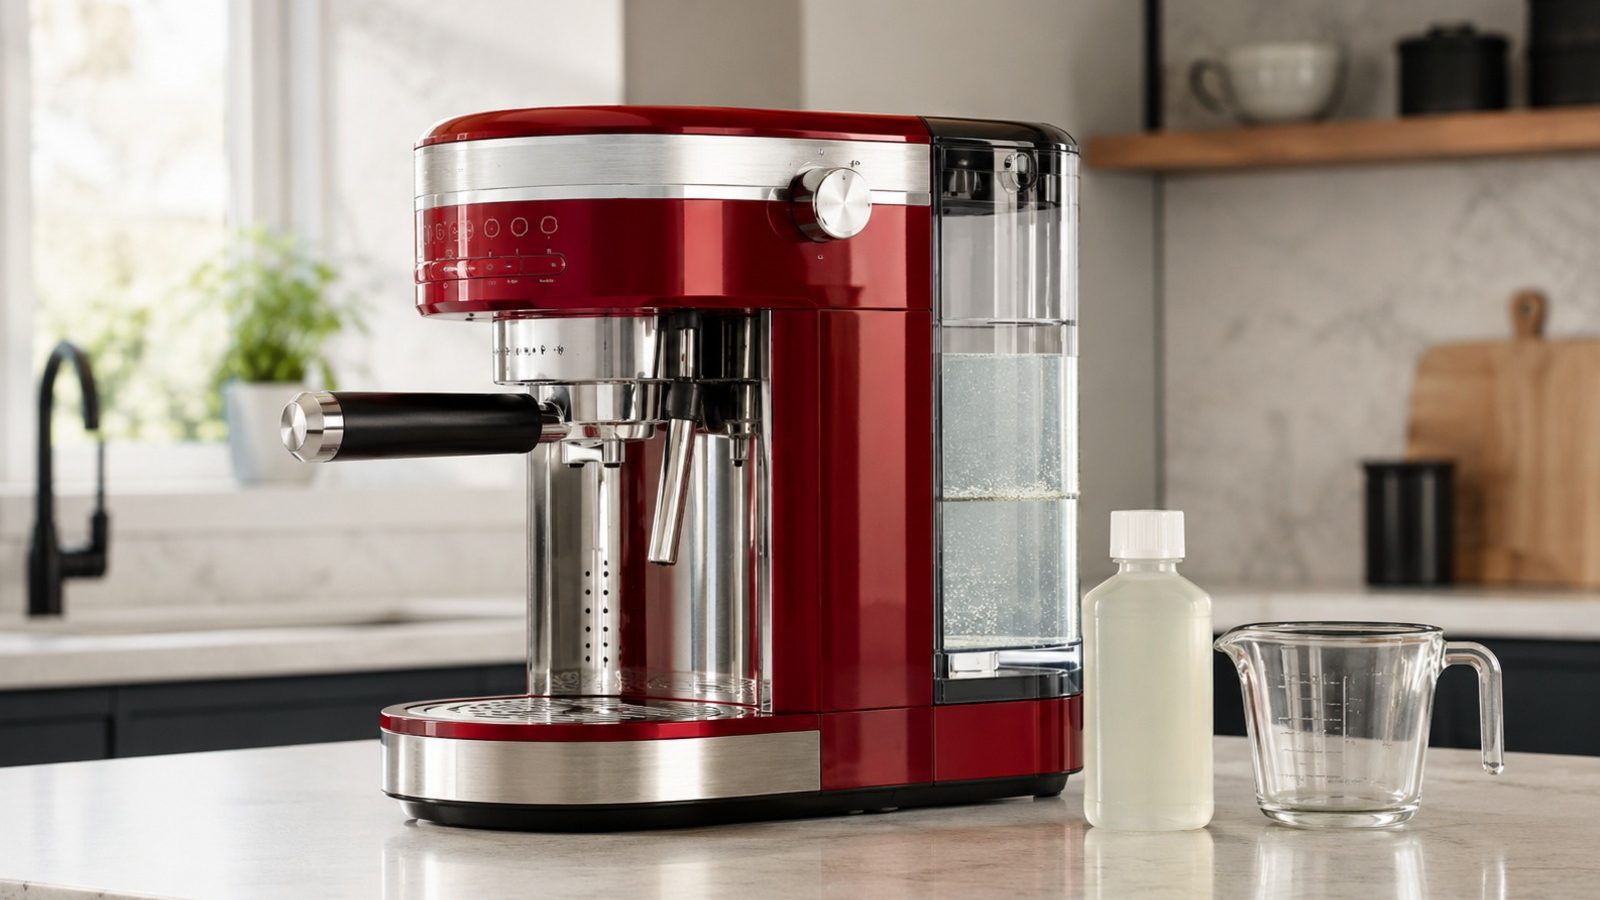

Mineral buildup is the most common cause of slow brewing and lost pressure — here is a safe descaling routine for KitchenAid coffee and espresso machines.
To descale a KitchenAid coffee maker, use the descaler and method your manual names, run the full cycle without interrupting it, and rinse with fresh water afterward. The right method depends on the machine, because drip models and fully automatic espresso machines are not descaled the same way. If slow brewing or a descale light persists after a complete cycle, book a diagnosis.
When a KitchenAid drip brewer or espresso machine needs descaling, it is tempting to blame a worn part, but the symptoms alone cannot say which. Start with safe checks you can repeat, and keep notes, since they will help a technician if you end up booking a visit.
Routine descaling is owner territory; testing and taking the machine apart are not. Never get around a lock, a safety switch or a message on the screen merely to finish a brew. Writing things down now means whoever diagnoses the machine later can work faster and with fewer errors.
Look up the descaling interval for your own model, pick a descaling solution the maker approves, and let the whole cycle finish with the carafe or drip tray sitting where it belongs. Keep the machine in its normal spot and do not force panels, fittings or controls. After any small adjustment, run one ordinary brew before judging the outcome.
If brewing drags, the pump sounds louder, or the descale light refuses to go out, limescale is probably narrowing the water path quicker than your schedule keeps up with. Check whether it happens on every brew, only with certain settings, or once the machine has warmed up, which is far more telling than switching it off and on repeatedly. Local water changes how fast deposits return, so the manual’s interval works as a rough guide, not a guarantee.
| Symptom | Likely cause | Safe check |
|---|---|---|
| Slow brewing | Scale buildup | Run descale cycle |
| Weak espresso pressure | Restricted flow path | Descale and recheck |
| Descale light stays on | Cycle not completed | Repeat full cycle |
Guidance for some KitchenAid drip coffee makers describes a vinegar and water solution or affresh tablets, with the water filter removed, a full cycle run, and fresh-water rinse cycles afterward. If the descale light stays on, the guidance is to repeat the cycle. Fully automatic espresso machines are different: guidance for those says not to use vinegar and to use a descaler made for automatics, and not to interrupt the program.
Semi-automatic machines add another variation, as some show a Clean light and run a phased program. Because one rule does not carry across these types, find the section of your own manual that matches your machine before buying a descaler.
Your use-and-care manual describes the controls, filter access and care intervals for your exact machine, so check it first. Clean only the parts it marks as owner-serviceable, use the products it recommends, and fit every removable part back the way it was designed to sit.
Ahead of another cycle, remove anything in the way and confirm the water supply and the tray or carafe position are not obstructed. Try not to reset the machine again and again, because that can conceal a fault that comes and goes, and water, heat or pressure may be left behind where they do not belong.
Safe to try
Leave to a technician
Mineral buildup narrows the water path and coats heating surfaces, so brewing slows, the machine sounds louder, and the descale indicator comes on. Guidance for some models says to descale when the indicator lights or when brew time slows or gurgling starts. After a complete cycle and rinse, a machine that is still slow has told you that scale was not the whole story.
Milk systems on fully automatic machines are cleaned separately from descaling, so a milk-related smell or taste needs the milk-system routine, and washing the container and frother after milky drinks is its own step. A pump, heater, or boiler fault looks similar from the outside, but checking it means opening the machine, which is where owner work stops.
If slow brewing or the descale light persists after a complete descale cycle and rinse, book a diagnosis.
If the simple steps leave things unchanged, stop where owner-level care ends. A technician with proper test equipment should handle control boards, pumps and motors, heating circuits, wiring inside the cabinet, refrigerant lines and gas connections, and confirm that the repair is safe.
Arrange service without delay when results keep deteriorating, a breaker trips, liquid leaks near electrical parts, there is a burnt or hot smell, a new grinding noise begins, or the machine fails to finish its usual cycle. If a safety warning appears, do not keep the unit running.
A technician will want the model number, an exact account of what the machine does and since when, the settings you picked, and the outcome of each safe check. If it helps, photograph the code on the screen or describe the sound aloud, but never take a cover off just to collect that detail.
Paying attention does not stand in for a repair, yet it is the most useful first move. Take care of the easy conditions, keep hold of any message that helps, and leave anything involving electrical parts, gas, the sealed system or internal mechanisms to a qualified technician.
Guidance for some drip models describes a vinegar and water mix, while guidance for fully automatic espresso machines says not to use vinegar. Check the manual for your exact machine before choosing a product.
The program may not have finished, or the cycle may need repeating, as guidance for some drip models describes. If a complete cycle and rinse do not clear it, have the machine looked at.
Yes. Fresh-water rinse cycles clear descaler from the flow path, and skipping them can leave a taste and residue in the next brew.
Need help now? Visit our services page or contact us.
Official manuals and support notes are available on KitchenAid owner support.
Get the full model number written down ahead of ordering a part, since changes to boards and sensors can alter the correct part number.
One reset of the power can clear a short-lived fault, but if a code returns over and over, a physical cause is probably still there.
Between service visits, keep filters and vents open. Limited airflow frequently passes for an electrical or sensor problem.
Water leaking out, a burning odor or visible sparks are reasons to stop using the machine and get a professional to inspect it.
Check your model manual for the recommended descaling interval, use a manufacturer-approved descaling solution, and run the full cycle with the carafe or drip tray in place.
Only if there is no burning smell, smoke, sparking, gas odor, water near electricity, or other safety warning. Otherwise stop and arrange service.
Clean venting improves drying performance and is an important home-safety habit.
Simple gasket, drawer, and drum care helps prevent musty odors in front-load washers.
Clear airflow and clean door seals help a refrigerator run efficiently.
Share a few details and we’ll confirm an appointment. Prefer to talk? Call us and we’ll help right away.
Fields marked with * are required.